Blender Brush mask 는
Brush size 는 F키, 강도 조절은 Shift +F 키.

기본 Brush 옵션은 Dots. E키를 클릭하면 Brush의 종류를 선택할수 있습니다.
Curve를 선택.

핸들이 달린 Bezier 베지어 커브처럼 그릴수 있습니다. Ctrl + 마우스 우클릭 버튼으로 그립니다.

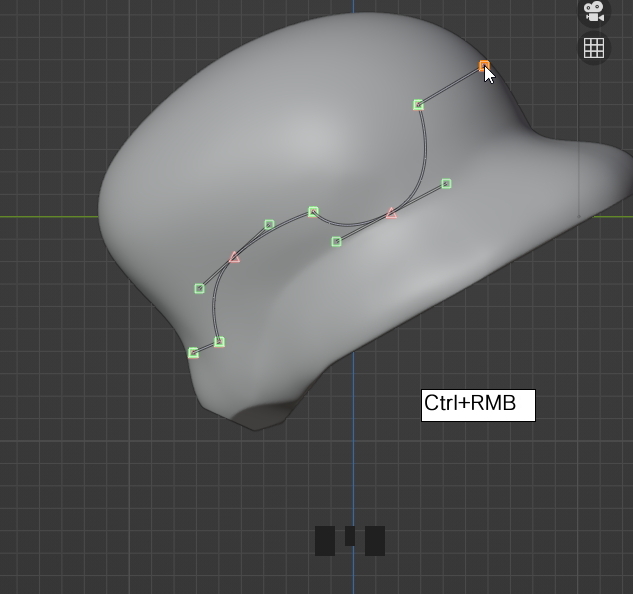
Vertex점을 선택하는 것은 마우스 우클릭

마우스 우클릭버튼으로 핸들을 움직일 수 있습니다.

이동도 역시 마우스 우클릭 버튼 상태로 G키
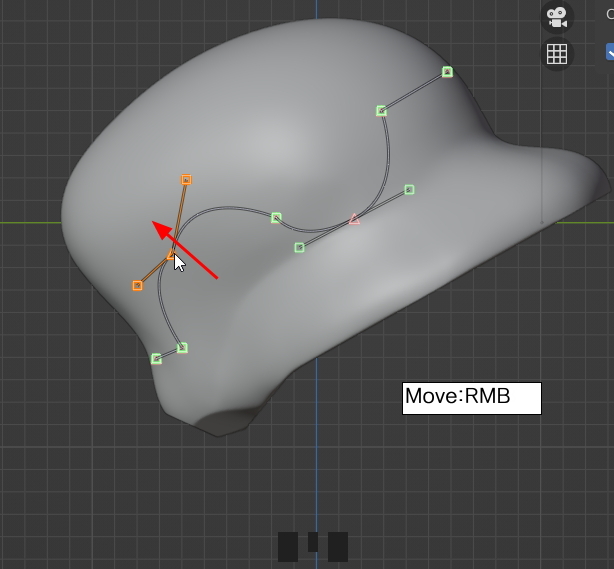
락이 걸린 핸들로 하고 싶다면, Shift + 마우스 우클릭.

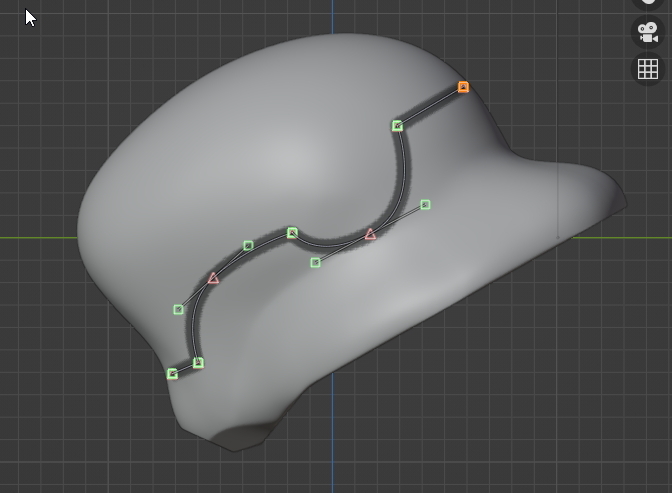
Curve는 재활용이 가능하고,

Line을 선택해서


이렇게 점선이 보임니다. 원하는 거리에다가..


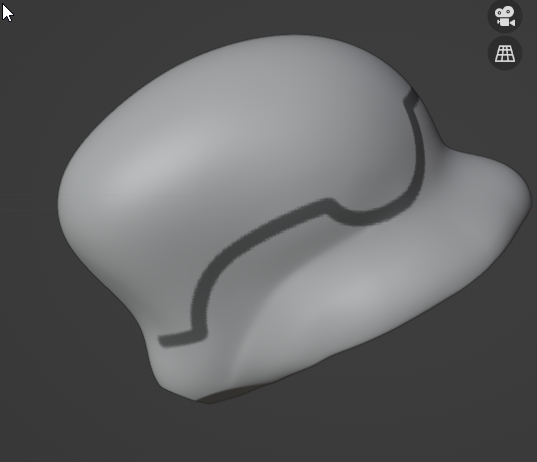
여러가지 Brush옵션으로 그리고,

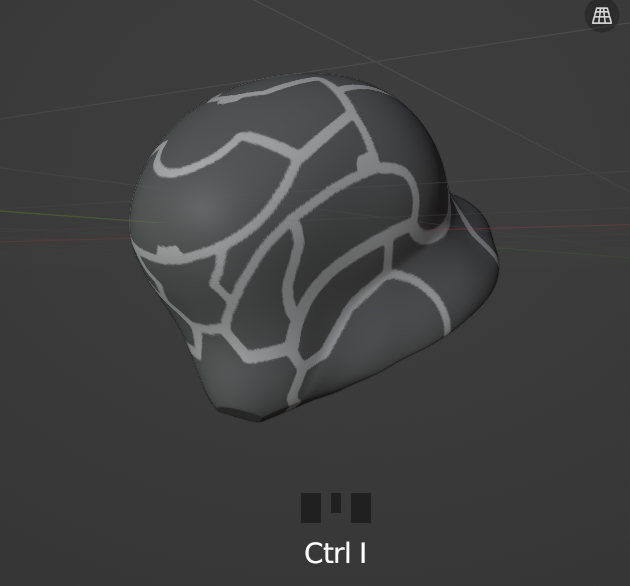
마스크 반전, Ctrl + I
현재 선택된 Mask 영역을 Extract 추출!

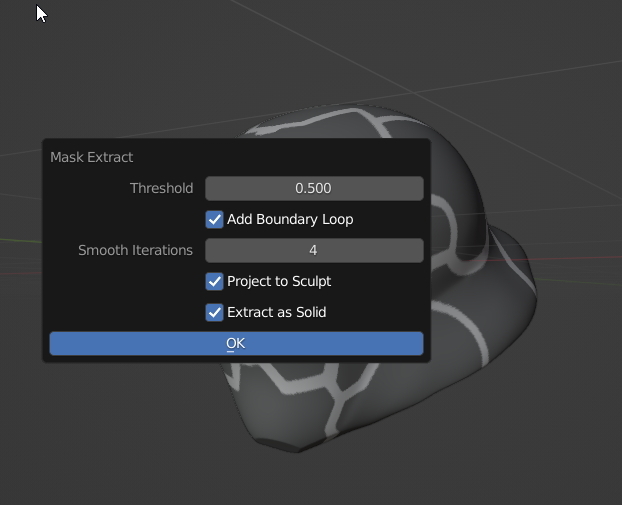
새로운 메쉬가 만들어 집니다.


원본의 눈을 끄고,


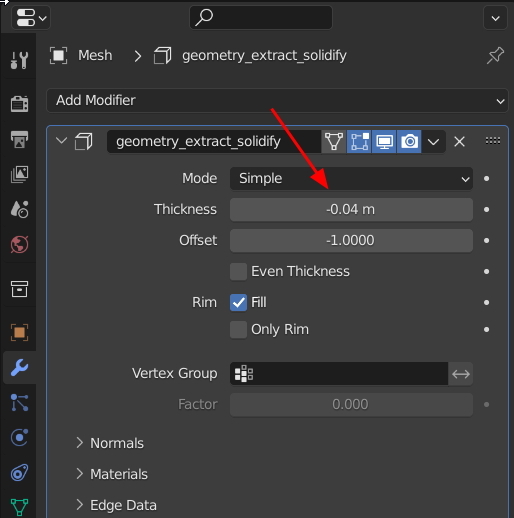
두께를 적절히 조절하고,

Remesh 모디파이어를 주고, Voxel로 Voxel Size를 0.005m로 아주 낮춤니다.

그리고 모디파이어를 다 합칩니다.

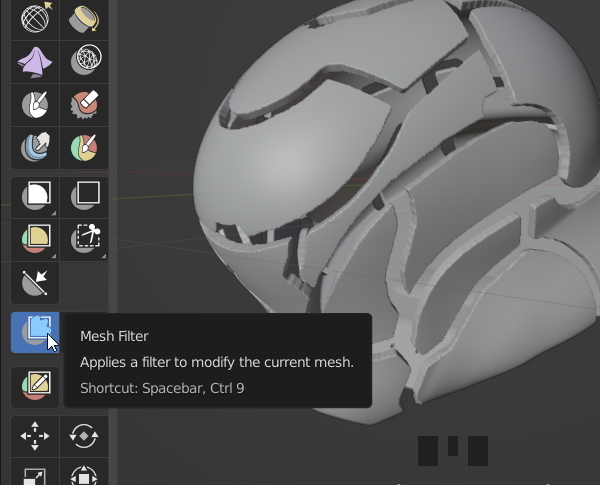
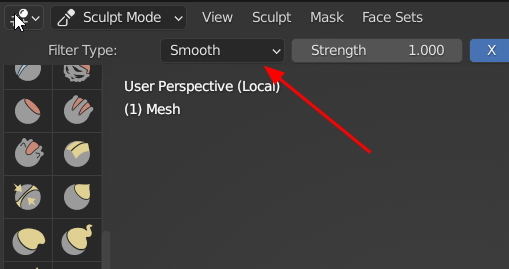
Scuplt mode에서 Mesh Filter 선택,
Smooth Brush를 선택,
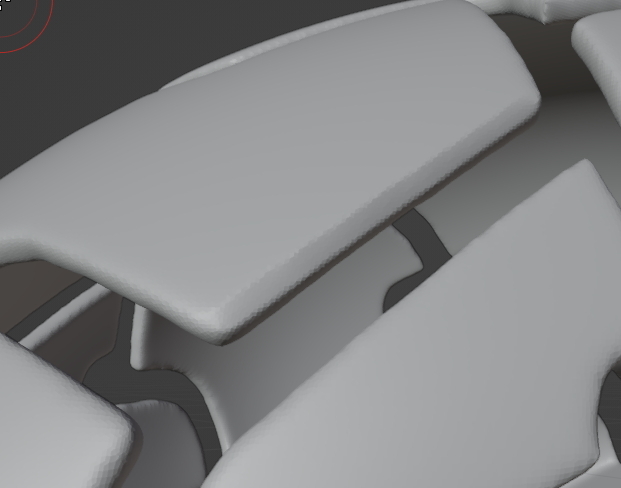
마우스를 좌에서 우르 문지르면,

전체 메쉬가 Smooth 부드러워 집니다.

평평하게 만든느 Brush를 선택하고,

코너 부분을 슥슥 문지르면,

이런 느낌...
간단하게 슥슥 굿입니다.!


'3D > Blender3D' 카테고리의 다른 글
| 블렌더 초보자 분들을 위한 애드온(무료)입니다. (0) | 2023.09.20 |
|---|---|
| [Blender] AI Render - Stable Diffusion in Blender (1) | 2023.04.23 |
| [Blender]Retopo : Bsurface GPL Edition (0) | 2022.02.23 |
| [Blender]Mesh: F2, Retopo 쓸만한 메뉴들 (1) | 2022.02.21 |
| [Blender] Retopo 준비 세팅 정리. (1) | 2022.02.20 |


