블렌더 Mesh에서 Curve 추출하고, 수정하기 입니다.
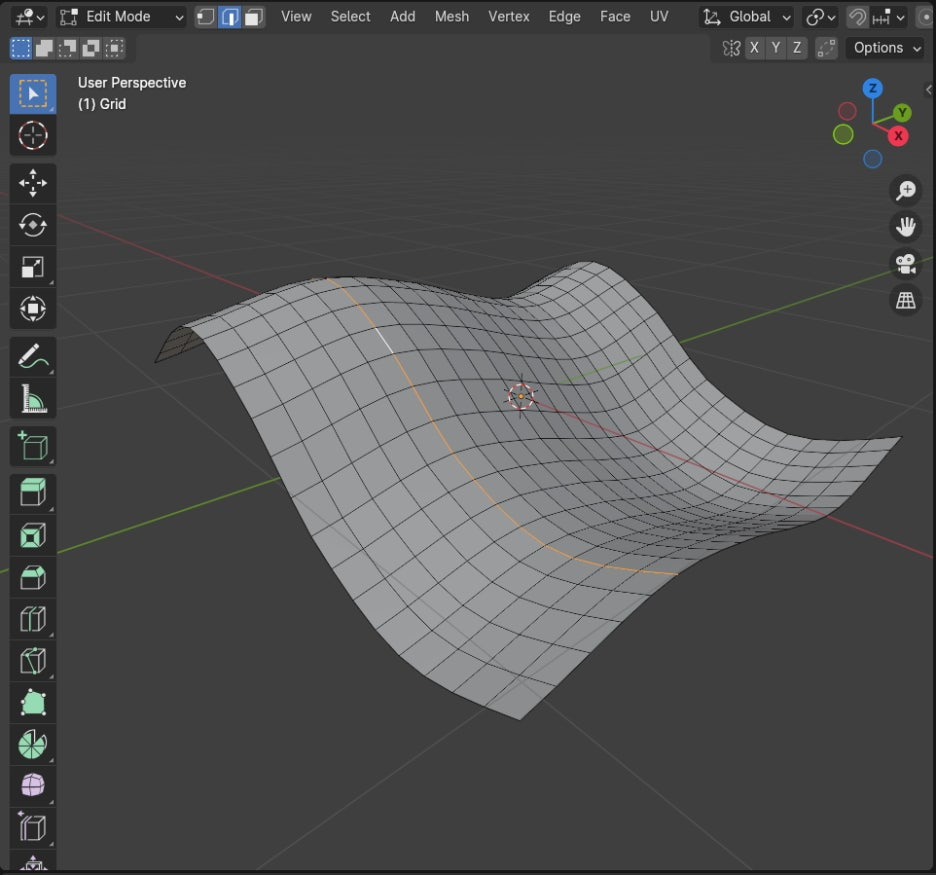
선택한 Mesh에 Edit mode에서 Edge들을 선택합니다. Loop Selection을 이용하면 되겠지요.
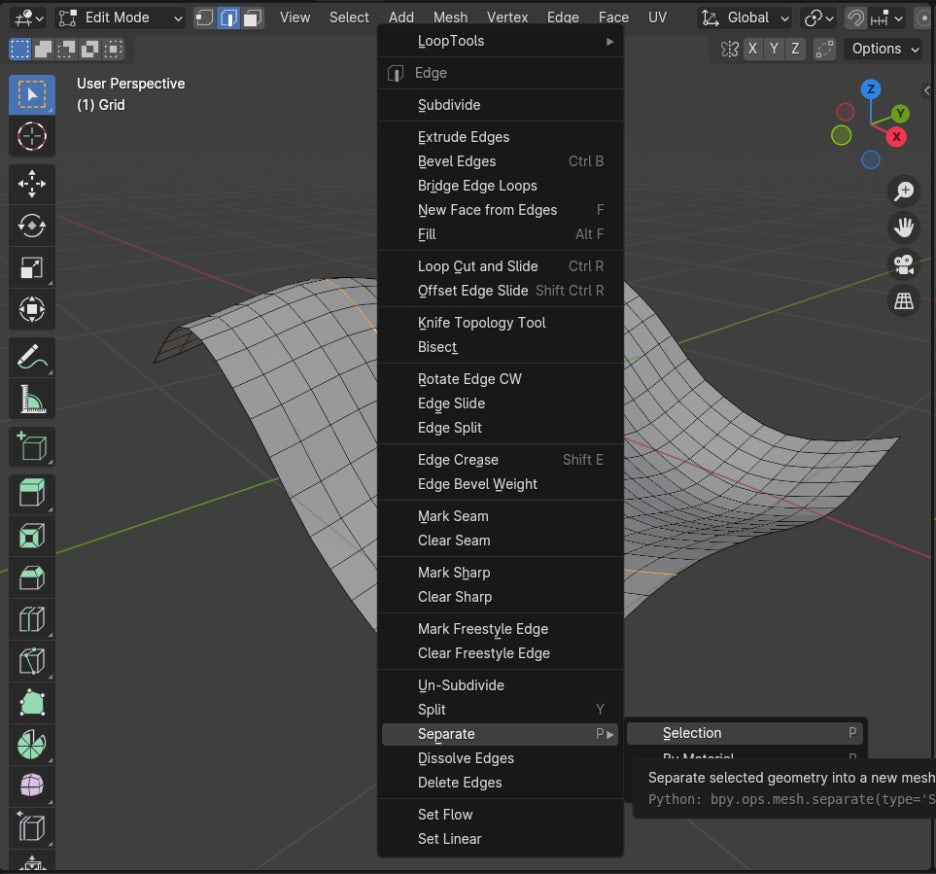
선택한 Edges에 Separate / Selection을 명령합니다. 선택한 것을 분리 시킵니다.
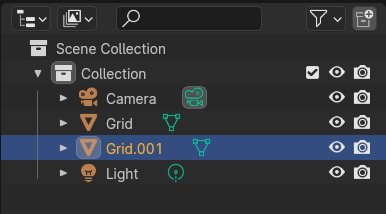
아웃라이너에서 보면 Mesh의 이름으로 번호가 붙어져서 분리됩니다.
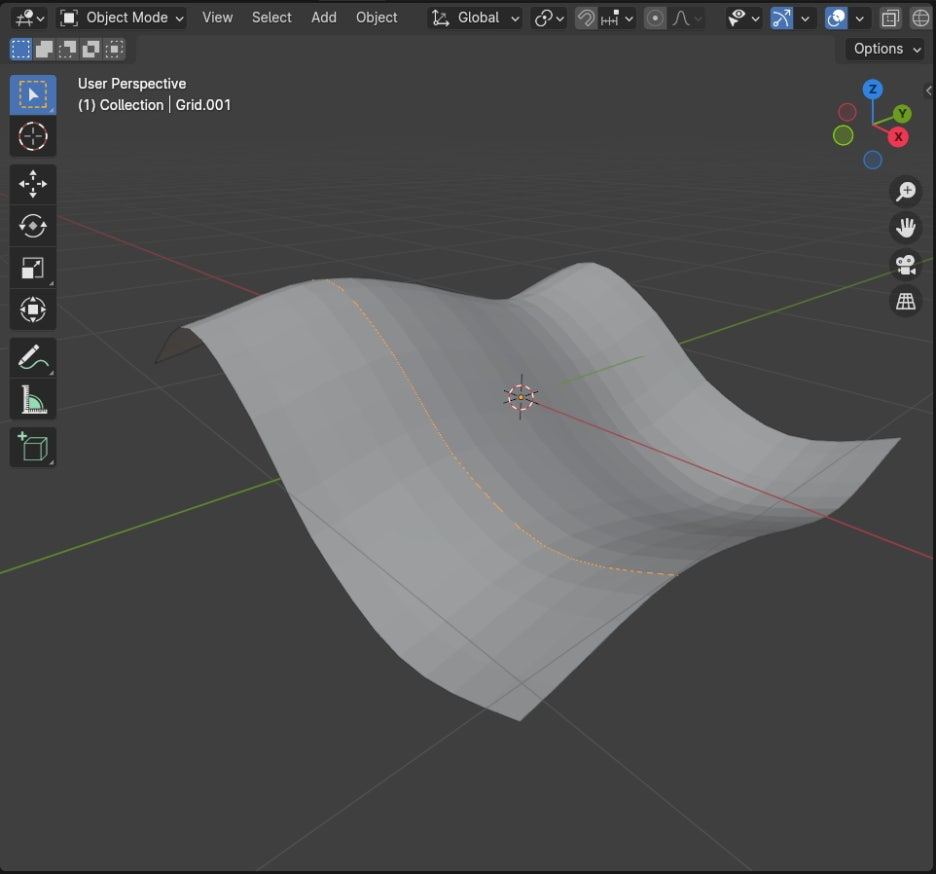
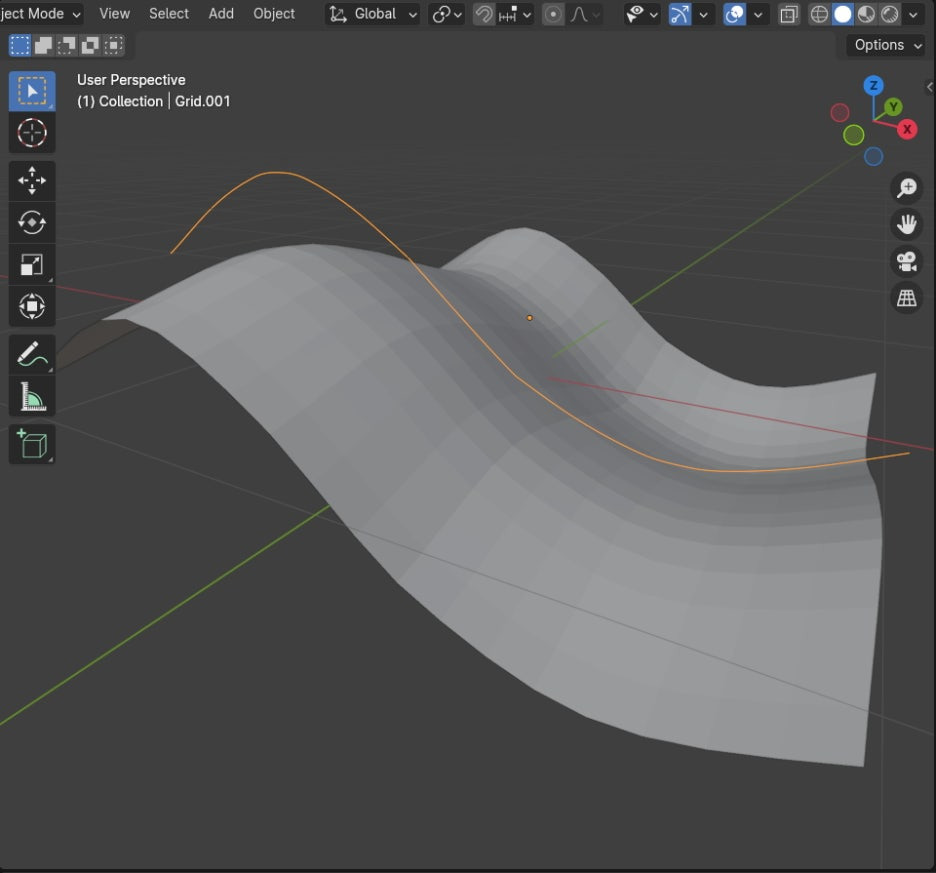
Mesh표면에 분리된 Edge mesh가 표시됩니다.
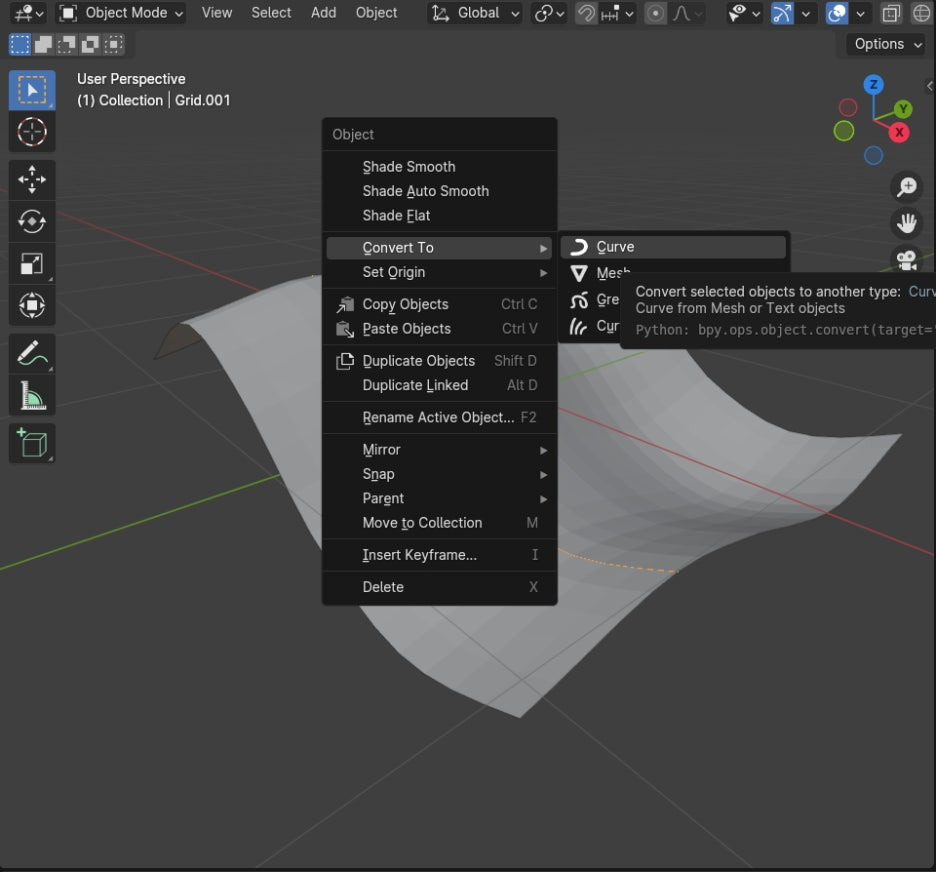
Convert To
Object / Convert to Curve를 명령하면, Edge mesh가 Curve object로 컨버트가 됩니다.
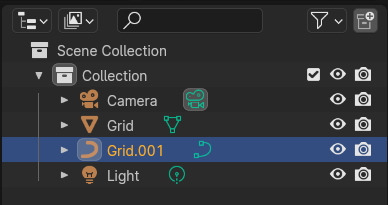
아웃라이너에서 확인하면, 속성이 Curve로 변경된것을 확인할 수 있습니다.
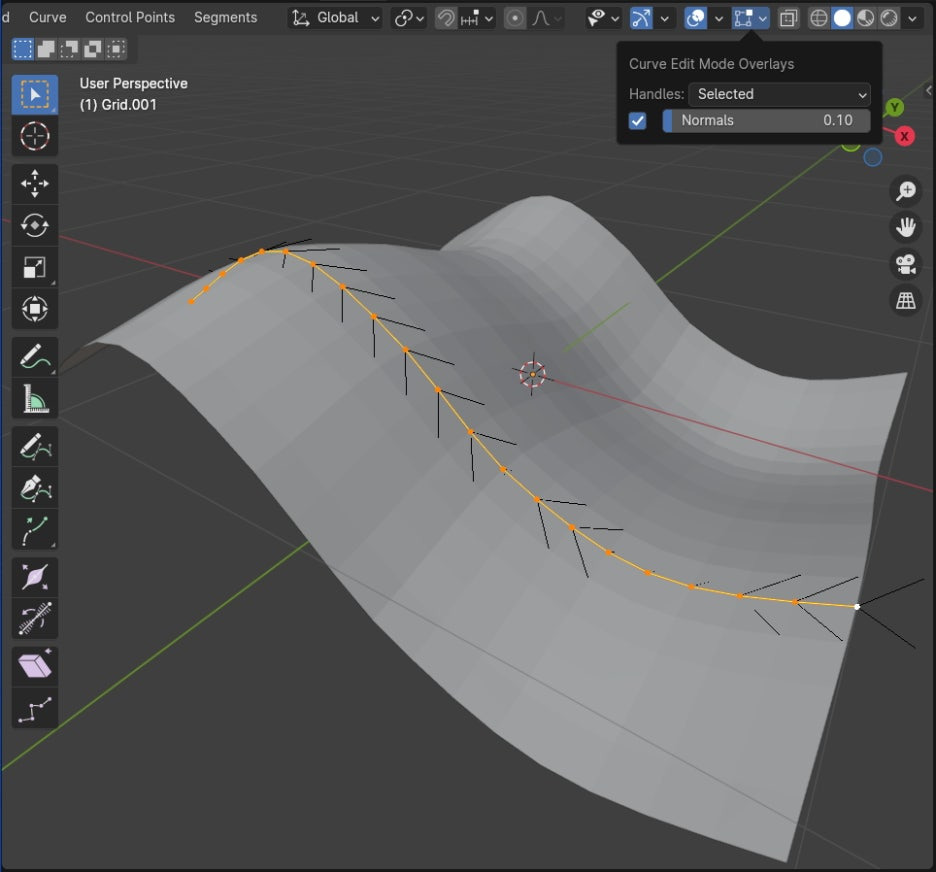
이제 Curve 속성을 가진 Object에 방향(Normal)을 확인해 봅니다.
Curve를 선택하고, Edit mode에서 Overlay에서 Normals를 체크 활성화 하면, 아래 그림과 같이 화살표 방향처럼, Curve의 Direction이 보입니다.
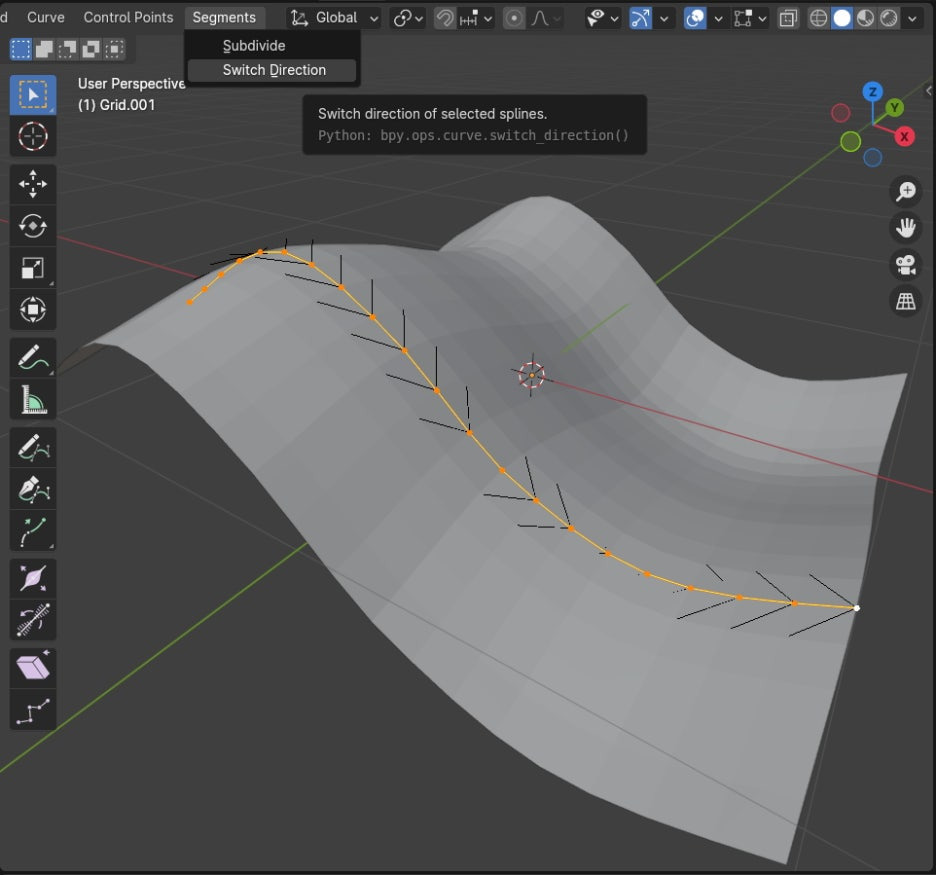
Switch Direction
Curve의 Direction을 뒤집으려면, Segments / Swith Direction을 명령하면 Direction이 뒤집힙니다.
이것은 Array Modeifier를 적용할 때 배열되는 방향에 영향을 줍니다.
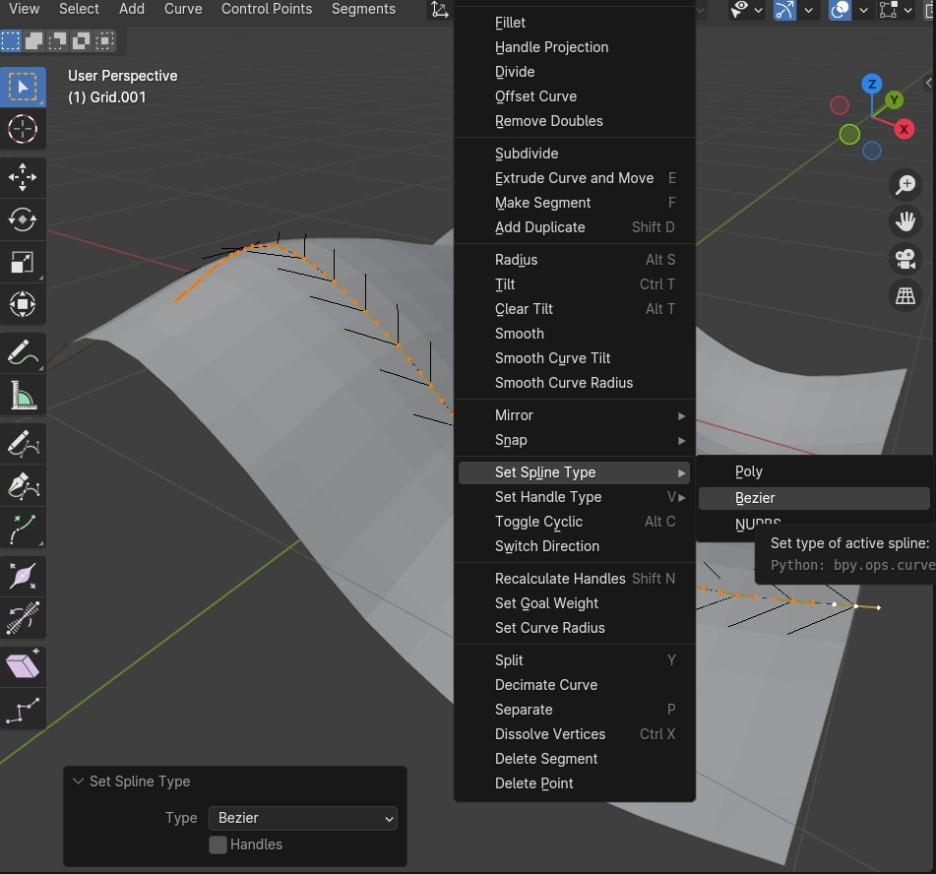
현재 Curve의 성경을 Bezier로 바꿀수도 있습니다. Set Spline Type에서 Bezier를 선택하면 Bezier Curve로 변경됩니다.
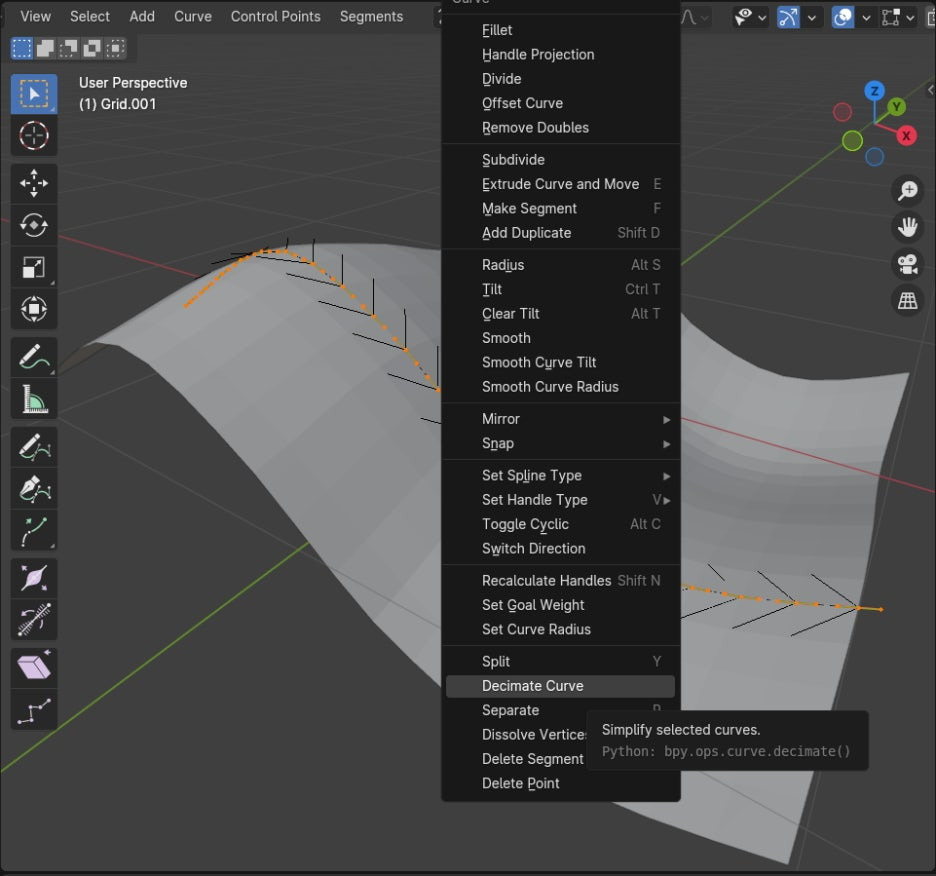
Decimate Curve
Bezier Curve는 Decimate Curve를 사용할 수 있습니다. Decimate는 Curve를 구성하는 요소들을 적당히 줄여도 Object 의 모습을 유지할 수 있습니다.
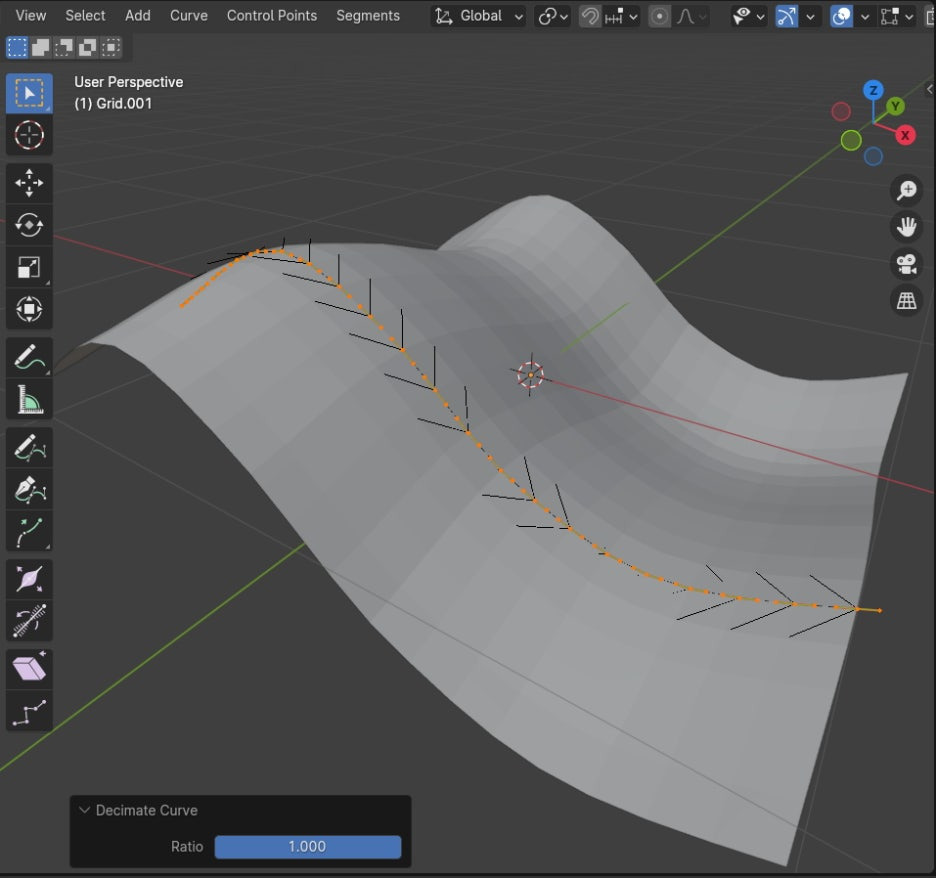
Decimate Curve 적용하고, Rate값이 1입니다.
Decimate Curve 적용하고, Rate값 0.5입니다. 확 줄였습니다.
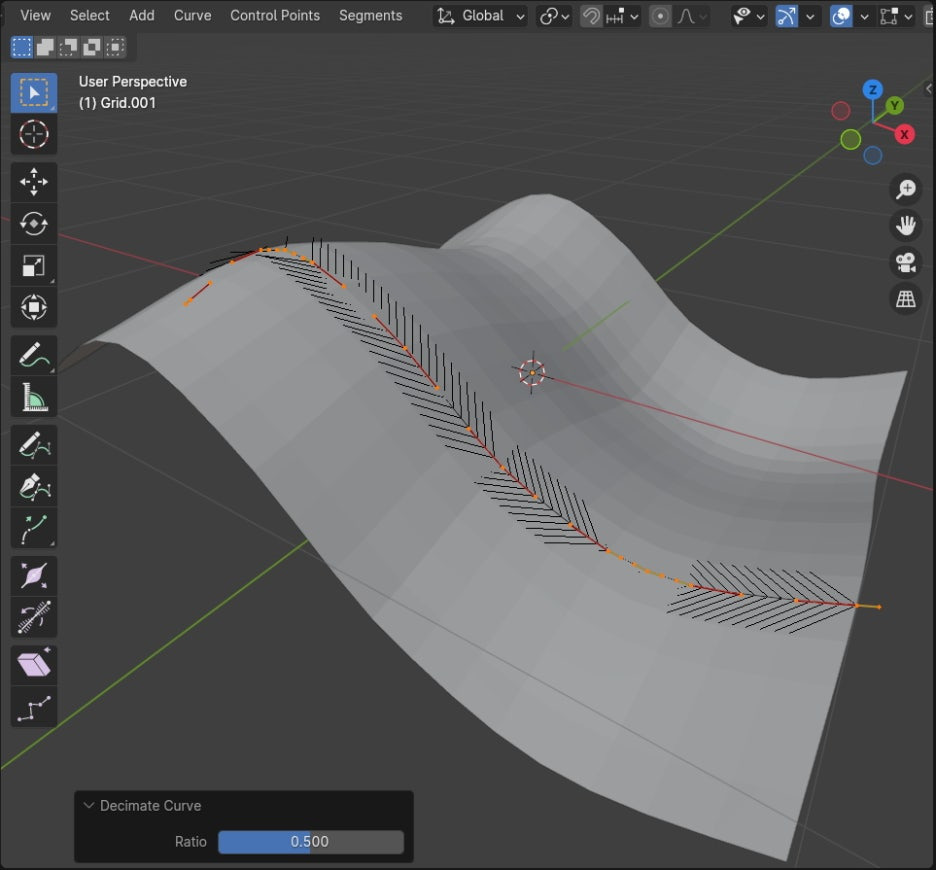
원본 커브와 비슷한 모습을 유지하면서, Vertex를 확 줄였습니다.
🏆 국비지원! 수강료 무료!💸💸💸
📢 Blender로 나도 제페토크리에이터!수강신청 https://litt.ly/solongos
☕제페토 카페 https://cafe.naver.com/zepeto3d
'3D > Blender3D' 카테고리의 다른 글
| Modifier: Skin [2] (1) | 2024.08.09 |
|---|---|
| Modifier: Skin [1] (0) | 2024.08.08 |
| Modifier: Mirror, Vertex Groups (0) | 2024.08.05 |
| Modifier: Mirror, UV (0) | 2024.08.02 |
| Ray Portal [2]: Blender 4.2 LTS (0) | 2024.07.31 |


